Blog Element
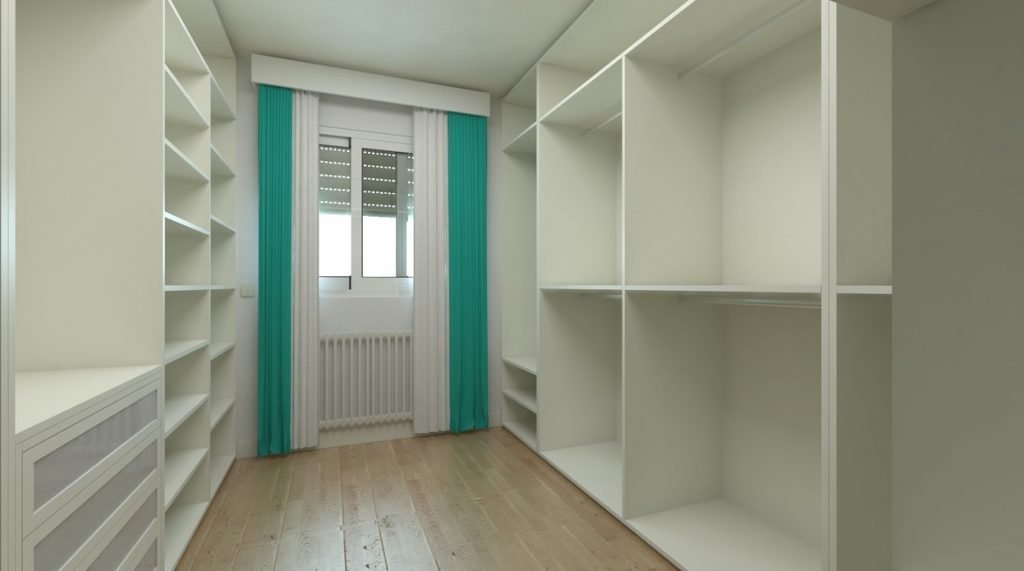
How to build your walk-in wardrobe

Build your dream walk-in wardrobe with a few simple and budget-friendly steps.
[A step by step guide to your walk-in closet].
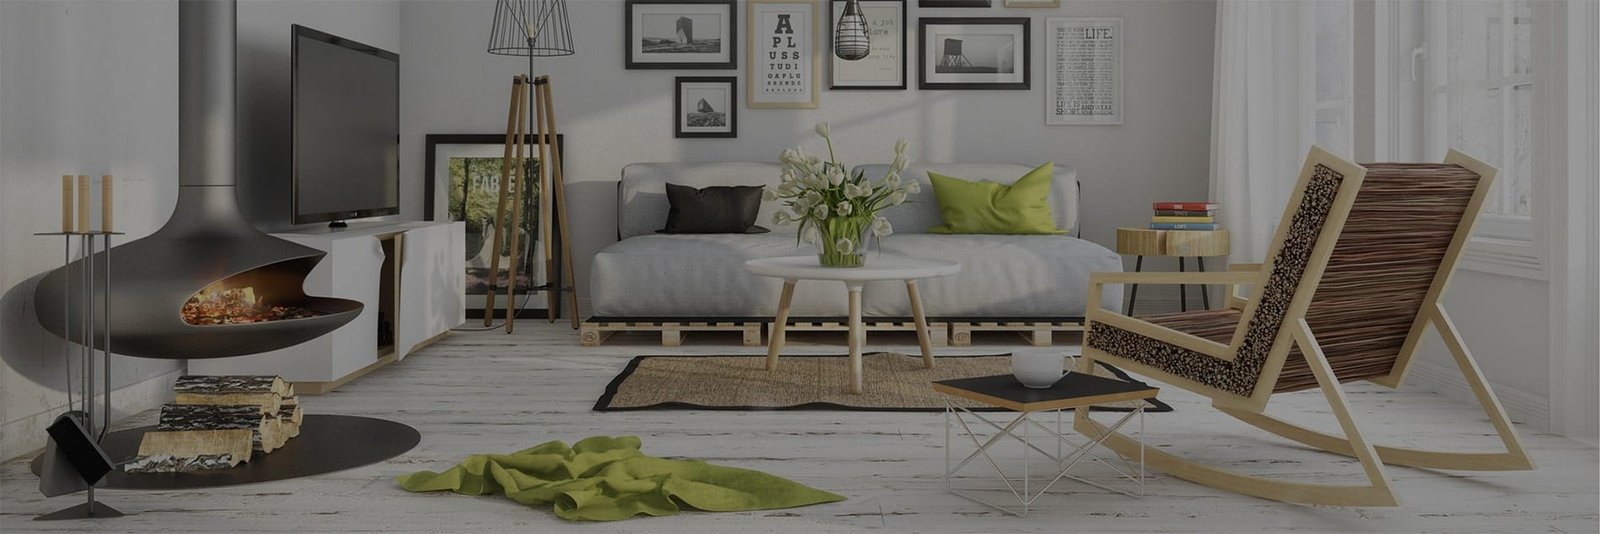
Walk-in wardrobes have been in the market for decades and continue to gain popularity, especially with the aspiring new homeowners. This is because they add functionality, beauty, sophistication and lifestyle to any modern home.
Are you one of the lucky few with space for the walk-in closet but feel overwhelmed in its design and build process? You are not alone.
Well, …lets dive in and take you through our short, 7-step expert guide to building your dream custom walk-in wardrobe!
Before we start, ensure you have considered everything your new walk wardrobe might need. We have listed the things you’ll need before building the closet.
Well…lets dive in and take you though our short, 7-step expert guide to building your dream custom walk in wardrobe!
6 simple steps to design your walk-in bedroom wardrobe like a pro.The DIY Guide to a Walk-in Wardrobe

Before you start on your design or sketching on the wardrobe project, you will need to take space measurements. Use a spirit level to determine if your ceiling level. Ensure you have someone to help you hold the measuring tape while you take measurements and write down numbers as you go along.
Also, you’ll need to check if the floor is level as well. This piece of information is very crucial especially when you’re building a configuration square wardrobe box which will need to be fitted into an imperfect space that is out of square and not level. Such foreknowledge with the project will make it easier to cope with the frustration when you encounter them.
Alternatively, you may decide to level the floor before taking measurements of the wardrobe. If the floor has a carpet, you may need compress as much as possible.

Then, it would be best if you ascertained the height of the ceiling at both ends and middle of the space to fit the closet. In so doing, you’ll need to adjust the height of your wardrobe box to accommodate a bulging ceiling, if any.
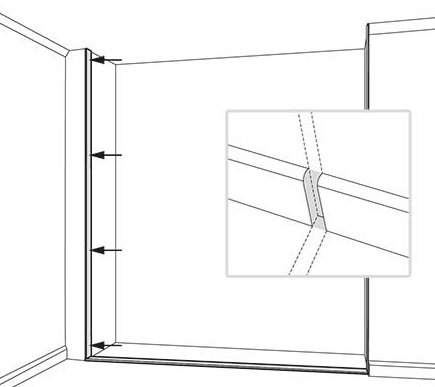
IYou must check the level of wardrobe walls with a spirit level. Since most wardrobe walls are not perfectly square, it would be prudent that you take measurements in a few sections along the wall and pick the smallest dimension.
If you have skirting board on the floor, you will need to remove them to slide in the panel before installing.
Always make an allowance by reducing all your final dimensions by 50mm from square walls/floors.
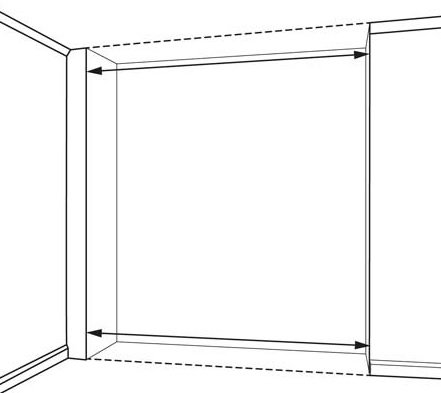
Measure in two places top and bottom and measure wall to wall above any skirting board.
Ensure that your wardrobe doors are not too wide; otherwise, you might not be able to open them fully with a bed be nearby! A good rule of thumb is that the wardrobe door should not be wider than 500mm. Much easier to build too!
Our state-of-the-art software will undoubtedly account for this, giving you the correct measurements for your doors, drawers, compartments, shelves and partitions.

After designing your cabinet, you will need list down parts on a piece of paper. Please take note of their sizes. This process is popularly known as a cutting-list generation. Typically, we offer a free consultation on cutting list generation and boards optimisation for your closet project. Generally, the whole idea is to come up with several laminated particle boards or MDF boards you will require for your wardrobe project.
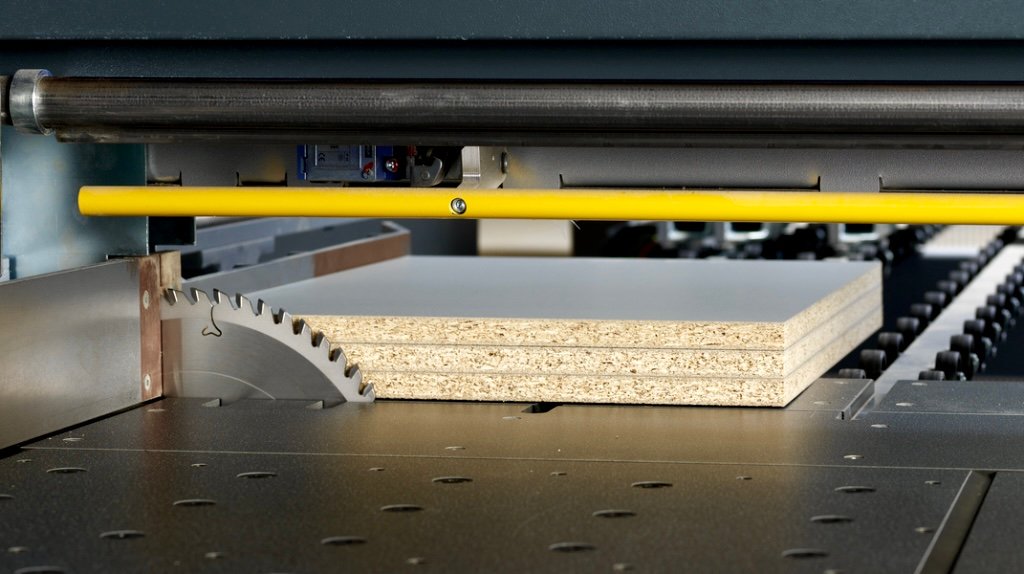
You need to cut the parts for your wardrobe from full-sized board materials.
Accurate, precise and clean cuts are very vital to bring out an excellent finish for your walk-in closets. We would not recommend wood saw or jigsaw for this kind of exercise. You may end up with laminate chipping on cut edges. Worse, though, it may be too rough or not straight at all.
In such situations, we would suggest that you seek in-house cutting services. We have invested in the state-of-art panel cutting machinery and software to ensure that you get precise, accurate and chip-free cut.
If you use laminated wood panels, you must cover the exposed cut edges with lipping materials. You can apply the lipping or edging material using a hot iron but with a lot of care to ensure perfect and flawless edges. Otherwise, you may end up damaging it while trimming the excess edging material. The peeling of edging material or damaged edging gets worse with time and looks terrible.
Again, you can source for our edge banding services. Our top of the range banding machine has pre-milling and corner rounding stations, which give our edging a perfectly smooth surface that will lasts years to come.
Aim to start and complete the job in one weekend. Often this kind of jobs can hang around for a long time as you’ll have something unfinished that may not be of use.
I hope you enjoy creating a functional and beautiful built-in closet! If you find this too much to bear, we can assist you built your DIY closet completely from scratch. Here’s how we did it.
Copyright © 2026 Meru Timber.
No account yet?
Create an AccountWhatsApp us
Get notified about new articles